Thanks a lot for the new update, item placement is a gorgeous addition  I really appreciate the creative opportunity it offers.
Sorry for this list of bug, issues, or request, but I think that can help:
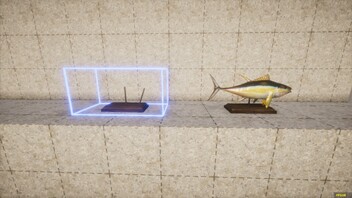
- Placed item can't be stored in blueprints. I tried to create a naturalized tuna (screenshot) and the fish don't be in the blueprint.
- That would be nice if the needle of a placed compass alway indicate the north, regardless of rotation.
- The behavior of the personalized palette in the "Select a color" menu (right clic of paint roller...) has changed for the worse: When I try to select a color, it is now replaced. Its possible to restore the previous (normal) behavior ?
- We can't take back in our inventory a placed butter churn if we hold use key, like for others workbenches.
- Placed items are mainly used for decoration, and should not take back as easily than a dropped non-peristent item. It could be better if we should hold use key rather than to do a short push (same mechanism as for workbenches).
- That would be nice if placed log have a rough (cylindrical) collision box. I want to use it as support for anvil, and its very strange without collision box.
- I'm not sure about this yet, but some items placed online last night (wood log under anvil on Medieval Realm) have disappeared this morning.